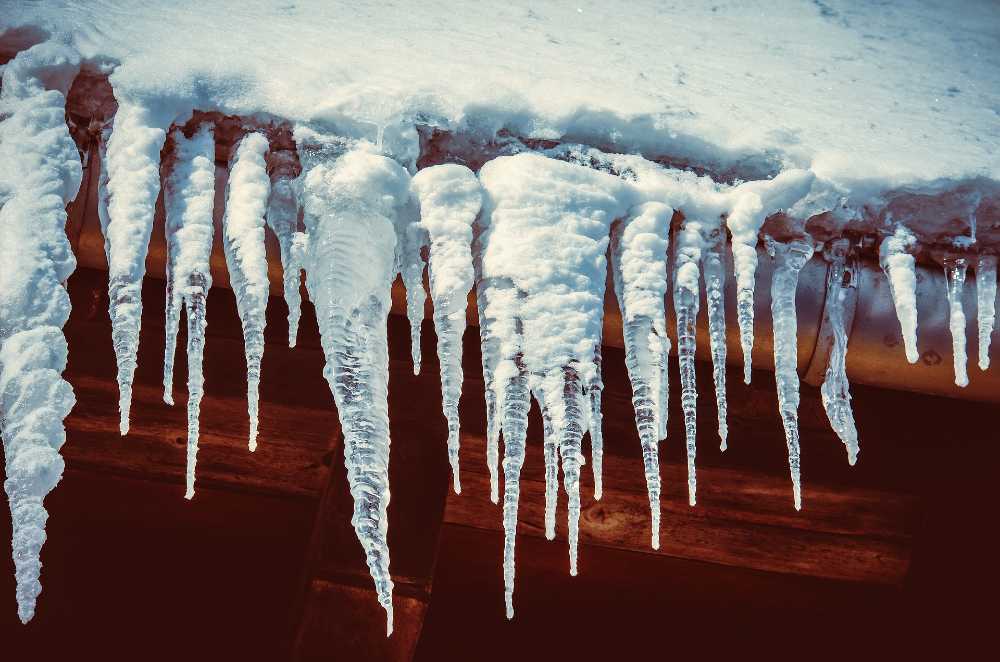
An ice dam can allow water to leak into your roof or even through your ceiling. The tell-tale sign of an ice dam is a large group or column of icicles hanging from your roof. Although an ice dam won’t necessarily cause severe water damage immediately, it can cause extensive damage over time or even allow water to leak in during rainstorms. We look at how to remove ice dams from your roof and what to do if you already have water damage.
How Do You Remove Ice Dams From Your Roof?
- Rake Or Shovel Snow From Your Roof – Use a snow rake or long-handled shovel to pull excess snow from your roof. Although this technically doesn’t remove the ice dam, it limits the supply of water that will cause the damage. When possible rake your roof any time there is substantial snowfall. Pay special attention to the roof edge and anywhere snow may get blocked.
- Use A Chemical Deicer – Fill old pantyhose with a chemical deicer like calcium chloride and lay it across your roof. The icer will slowly melt and ice, allowing it to drain away. For the best results, position it vertically across the ice dam to create a channel for melting ice and snow to flow. Also, allow 6 to 12 inches of the pantyhose stocking to hang over the edge of the roof so it can drip to the ground. However, avoid using rock salt to remove ice dams. The salt can corrode your roof and gutters, plus kill plants on the ground below.
- Spray With Water – Water is a powerful substance. Spraying the ice with water will quickly melt the dam and allow snow and ice to flow away. While you may think hot or boiling water is necessary, cool water will work just as fast. Plus, it’s much easier to reconnect your garden hose than figure out how to safely get gallons of boiling water up to your roof. Continue to spray the ice dam with water until the entire area is clear. Make sure to clear gutters and downspouts too so future snowmelt can drain away.
- Blow Cold Air Through Your Attic – This may seem counterproductive, but it’s not the cold that causes the ice dams. It’s the warm air that melts the snow that causes the problem. Position fans near attic vents and use them to pull cold air into your attic. This will help regular the temperature of your roof and limit thawing. This method is especially effective if you’ve already removed ice dams using a deicer or water as outlined above. Keep the fans running throughout the winter as well.
2 Ways To Get Rid Of Ice Dams That Are Likely To Cause More Damage
Chip Away Ice
You may have seen recommendations that suggest you should chip or pound away built-up ice on your roof. Some of the suggestions we’ve seen include using an ice pick, awl, hammer, mallet, hatchet, and ax. While this may sound like an effective way to remove an ice dam, you’re more likely to damage your roof or injury yourself.
Heat Cables
Another common suggestion is to use heat cables. These are electrical wires that heat up and claim to prevent ice dams. Unfortunately, they just aren’t that effective and some are even dangerous. Not only can they short out, but they can cause fires. They only heat a small portion of your roof, leaving plenty of area for an ice dam to form.
How To Cleanup Water Damage From An Ice Dam
If you already have water damage, do not try to get rid of the ice dam until you’ve made temporary repairs. Otherwise, as the ice dam melts, it will cause more damage to your home.
In some cases, you do your own water cleanup from an ice dam. To limit the damage, you should remove the water in less than 2 hours. Also, complete structural drying within 24 to 48 hours depending on the extent of the damage.
If you cannot dry the damage in that time frame, consider hiring a water damage restoration company. They have the skill and equipment to repair the damage after an ice dam leak.
Regardless of whether you do the work yourself or hire a restoration company, the water cleanup process is the same. Additionally, once the water damage is cleaned up, you need to make permanent repairs to your roof.
The Water Cleanup Process
- Extract Water – Remove standing water with a submersible pump, wet-dry vacuum, or absorbent towels.
- Remove Damaged Materials – Then dispose of damaged structural materials and personal items.
- Dry The Structure – Use air movers and dehumidifiers to dry the structure of the damaged area.
- Disinfect and Deodorize – Once dry, disinfect and deodorize to remove mold, bacteria, and odors.
- Restore The Area – Repair and rebuild the area as necessary to return it to its original state.
Call 1-888-443-3110 for a free estimate from water damage restoration services near you. Our restoration specialists offer 24-hour emergency services and a 30-minute response time.


